Five of The Best

After the success  of last weeks post showcasing 5 of the best blog posts that I’d stumbled on I thought I would do it again this week! I’m not sure if this should be a weekly thing or just monthly… I’ll keep you posted!

This first item actually comes from a stationery/scrap-booking blog (who’d of thunk it, eh?). Technically it is a furniture makeover, being drawers and all, and I thought that it was the biggest shocker between the ‘before’ and the ‘after’. Afraid there’s no tutorial but pop over to Between The Sheets for more detailed photographs.

Source: Between The Sheets

The next piece isn’t a makeover but has full plans on how to make a great rustic cupboard. Shanty 2 Chic use theirs to store a coffee machine but it would be a great place to tidy away all those craft bits, paperwork or just about anything! I also loved the colour she used on the final piece.

Source: Shanty 2 Chic

This next piece is from Rustic Whites but is anything but white! I absolutely adore the colour used – it reminds me of the Antibes Green I used under the little spice rack – and makes me want to go bolder with colour in the very near future!

Source: Rustic Whites

Now usually I’m not a big fan of stenciling, not even when you design it yourself, but when it’s done as well as this find over on Art is Beauty, then I give it a big ‘Thumbs Up’!

Source: Art is Beauty

And finally, I thought this Ikea hack from Girl in the Garage was fantastic.. partly because I’m working on the same set of drawers but with a completely different finish but mostly because it’s so much more practical than using vintage suitcases and much, much easier to find!

Source: Girl in The Garage

Well, that’s it for this week’s Five of The Best, I hope I managed to find something you haven’t seen before? Shall I keep it going every Sunday night or do you think once a month is enough?

Watch out for this week’s posts on distressing using Vaseline, Mark’s Makeover, and my very own Ikea hack.

Nikki x

Mark’s Table Make-Over

Blogging has really helped me to keep motivated this past few weeks and the post-Christmas blues haven’t been able to take hold. It has also made me try new things (like distressing with vinegar) and revisit methods I haven’t used for a while (watch out for a post about crackle finish using pva glue).

In the hope that it can have a similar effect on Mark I am going to try to include a post once a week of what he’s been working on. Most of it shouldn’t need any explaining but, if you do have any questions, please leave a comment and I’ll answer every one.

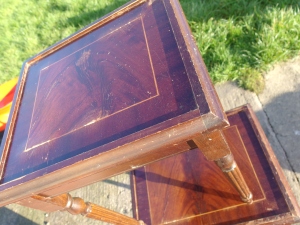
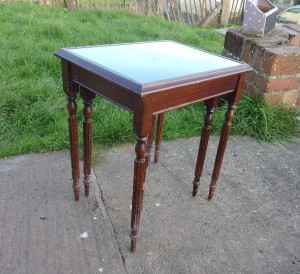
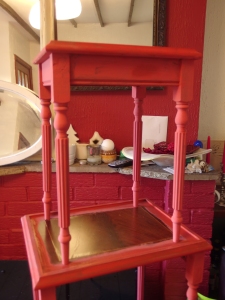
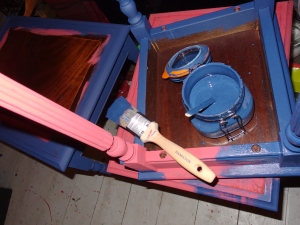
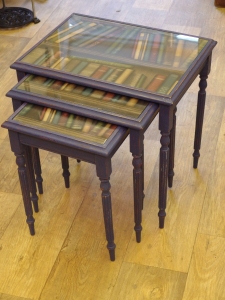
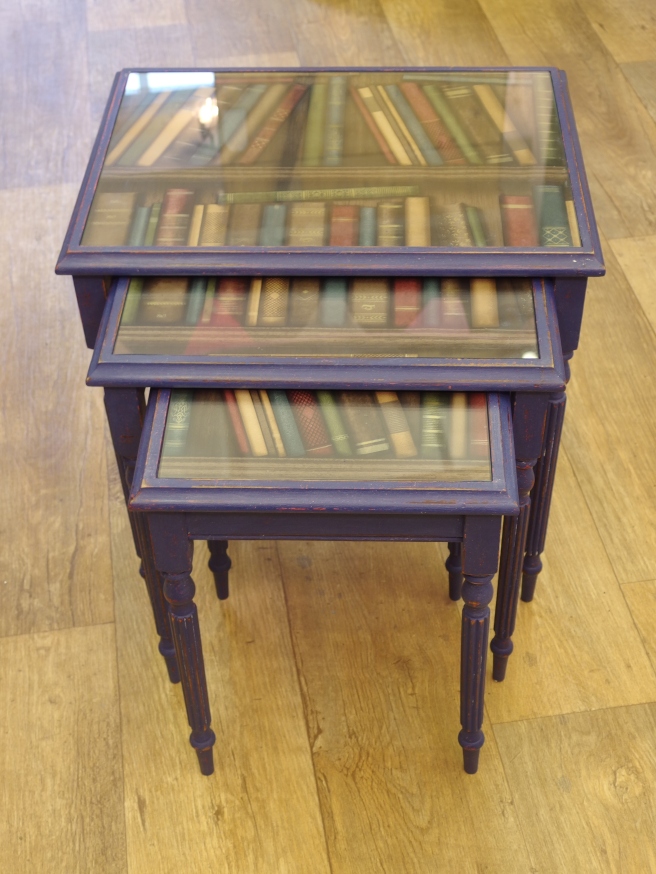
This week has been about refinishing a cute little nest of tables. Mark loved the blue and red table I told you about not long ago, so used the same colour combo on the tables. I found a wonderful wallpaper, that looks like old books on shelves, to go under the glass that finishes them off beautifully!

Nest of tables
You find these quite often at auction
Glass topped mahogony tables
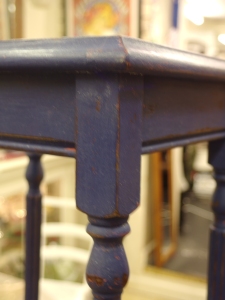
Nice legs 😉
Red painted table
First red
Table painted blue
Then Blue…
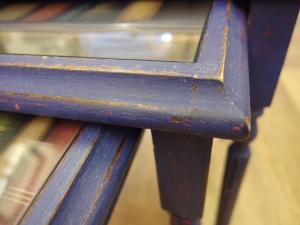
Distressed table leg
Rubbed back just a little…
Cleat wax over chalk painted table
Add some clear wax
Walpaper behind glass
Put your wallpaper in…
Table reveal
Ta-da!

I really like them, but of course he based them on one of my pieces and I chose the paper so I’m going to be completely biased!

’til next time,

Nikki x

Distressed Paint Effect Using Vinegar

Use something we all own to get a great distressed finish

I’m an old-fashioned kind of girl who finds a method that works and sticks to it. That means I can spend hours, days even, gently rubbing back paint to get just the right distressed finish required.

Recently I’ve been thinking that there must be an easier way? I believe in doing the job right but if there’s a way to do it right and quickly shouldn’t I be using it? Sure enough there are lots of ways people distress their furniture I hadn’t even considered so in the next few weeks I’m going to be trying them out (or some at least) and sharing my findings with you, dear reader.


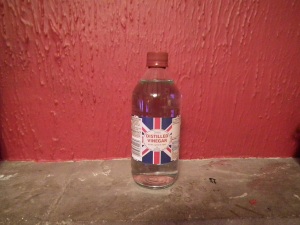
White Vinegar for distressing
This cost pennies

This first method uses something most of us keep in the pantry… vinegar. I decided to opt for distilled or white vinegar as I didn’t want it to stain the paint in any way.  Obviously I didn’t have any distilled vinegar in my store cupboard so that meant a trip to town and another hour out of my day!

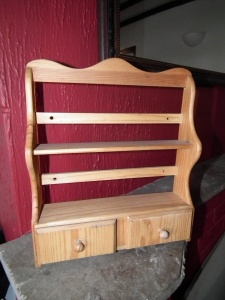
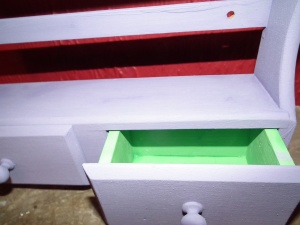
Anyway I already had this cute little shelf unit (spice rack maybe?) that I found in a charity shop a few weeks back. It is pretty featureless so will rely on having a good paint effect to give it some oomph.

Charity shop spice rack
You will often see pieces like this in charity shops

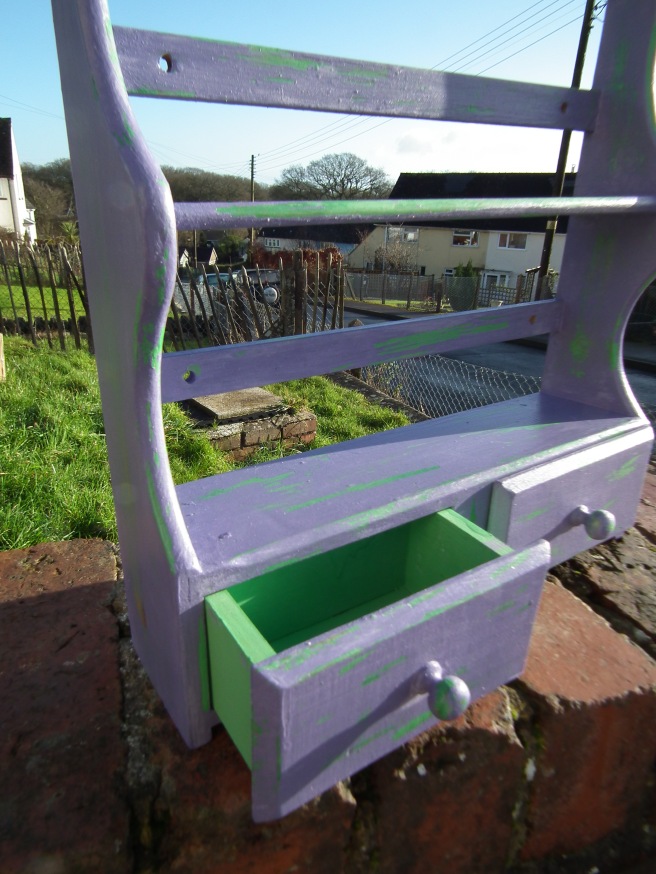
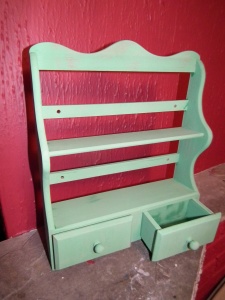
I started with a quick coat of Annie Sloan’s  Antibes Green, as I had some left over from an earlier project. As always with this colour I was tempted to stop there, but then I’d have nothing to share with you, so I gave it a quick wax using Rusto-leum clear furniture wax. Then it got 2 coats of my own deep lavender (okay, I’ve got to come up with some cool names for my paints) and left it to dry thoroughly.

Antebes Green
I just love this as a contrast colour
Little French Paint Co
My own mix over the green

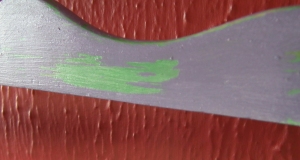
Once dry, I just dipped my microfiber cloth in the vinegar and wiped it over an area. Nothing happened. I rubbed a bit harder. Nothing happened. Then, as I was showing Mark how ineffective it was, a huge streak of the lavender rubbed clean off!

Distressed with vinegar
This big chunk wiped off in one go!

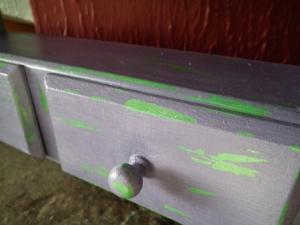
I think the knack is to almost soak the paint in vinegar and give it a second to soak in. I’m really glad I took the time to wax after the green or I think it would have wiped off at the same time – the wax was just enough of a barrier to protect it.

Once I got the hang of it, it was so easy! I wouldn’t want to use it on everything because you just don’t have the same control as you do sanding by hand, but if you want a beat up, rustic look then this is great.

Vinegar distressing
You need a gentle touch until you get used to it!

In the interests of science (or maybe just because I’m still a wee bit sceptical) I’m going to try a similar experiment using plain water and another using something like lemon juice so I’ll keep you updated – be sure to follow us so you don’t miss a thing!

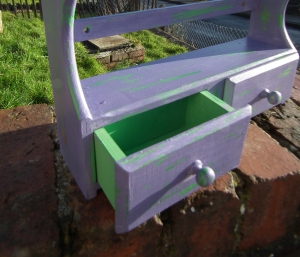
Finished piece after a top coat of wax varnish

Tune in next week to see how I got on using Vaseline to distress a mirror in my lounge, and please let me know if you’ve heard of a method of distressing you’d like me to try, and review!