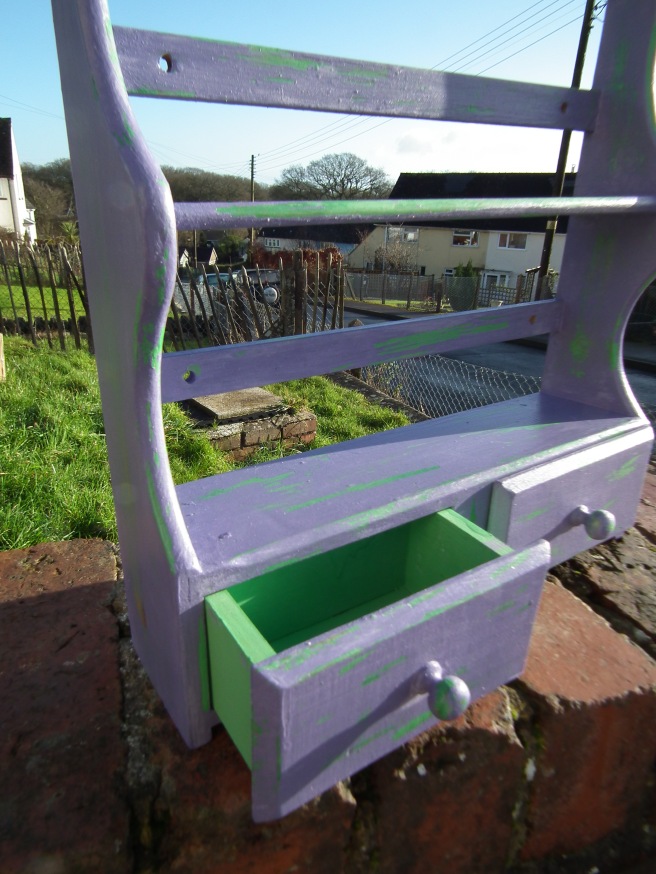
I’m an old-fashioned kind of girl who finds a method that works and sticks to it. That means I can spend hours, days even, gently rubbing back paint to get just the right distressed finish required.
Recently I’ve been thinking that there must be an easier way? I believe in doing the job right but if there’s a way to do it right and quickly shouldn’t I be using it? Sure enough there are lots of ways people distress their furniture I hadn’t even considered so in the next few weeks I’m going to be trying them out (or some at least) and sharing my findings with you, dear reader.

This first method uses something most of us keep in the pantry… vinegar. I decided to opt for distilled or white vinegar as I didn’t want it to stain the paint in any way. Obviously I didn’t have any distilled vinegar in my store cupboard so that meant a trip to town and another hour out of my day!
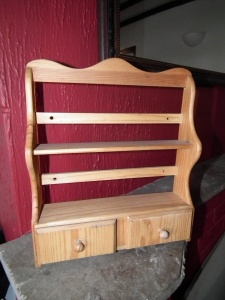
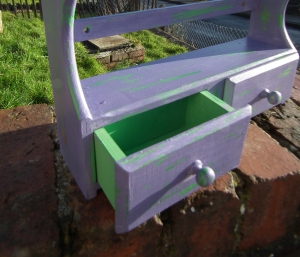
Anyway I already had this cute little shelf unit (spice rack maybe?) that I found in a charity shop a few weeks back. It is pretty featureless so will rely on having a good paint effect to give it some oomph.
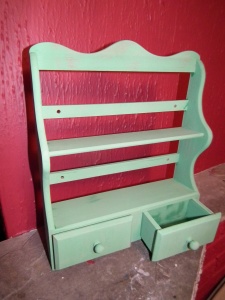
I started with a quick coat of Annie Sloan’s Antibes Green, as I had some left over from an earlier project. As always with this colour I was tempted to stop there, but then I’d have nothing to share with you, so I gave it a quick wax using Rusto-leum clear furniture wax. Then it got 2 coats of my own deep lavender (okay, I’ve got to come up with some cool names for my paints) and left it to dry thoroughly.
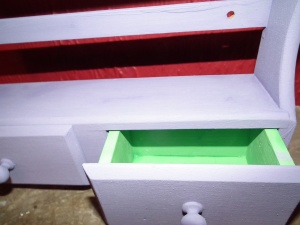
Once dry, I just dipped my microfiber cloth in the vinegar and wiped it over an area. Nothing happened. I rubbed a bit harder. Nothing happened. Then, as I was showing Mark how ineffective it was, a huge streak of the lavender rubbed clean off!
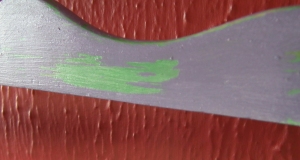
I think the knack is to almost soak the paint in vinegar and give it a second to soak in. I’m really glad I took the time to wax after the green or I think it would have wiped off at the same time – the wax was just enough of a barrier to protect it.
Once I got the hang of it, it was so easy! I wouldn’t want to use it on everything because you just don’t have the same control as you do sanding by hand, but if you want a beat up, rustic look then this is great.
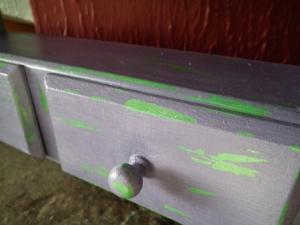
In the interests of science (or maybe just because I’m still a wee bit sceptical) I’m going to try a similar experiment using plain water and another using something like lemon juice so I’ll keep you updated – be sure to follow us so you don’t miss a thing!
Tune in next week to see how I got on using Vaseline to distress a mirror in my lounge, and please let me know if you’ve heard of a method of distressing you’d like me to try, and review!

Cool tip! I may have to try it! Can’t wait to see the vasealine….
LikeLike