Soap Sock Tutorial

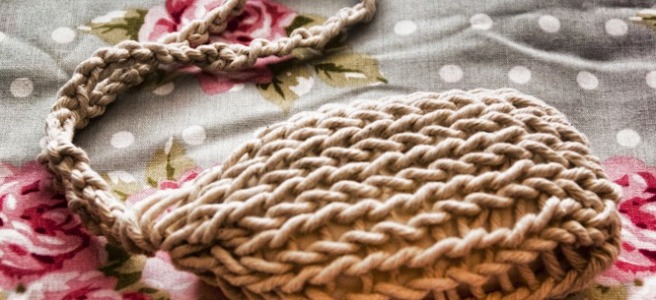
Easy knit soap sock
A Soap Sock!

I first published this tutorial on a now defunct craft blog but thought that it was worth bringing over here. I know that primarily this is a DIY blog but when the weather is cold you don’t always want to be in a cold workshop but your fingers still itch to do something!

This soap sock is a neat way to make your soap stretch a little further while gently exfoliating your skin. You can knit them up in half an hour and use whatever yarn you have to hand. I’m told that felting wool is great because it actually shrinks with the soap as you use it, but my particular favourite is using string! Not the horrid nylon stuff but the old fashioned 100% cotton twine. It’s a little strange, at first, knitting with something that has no ‘give’ whatsoever but it’s a simple project so doesn’t cause too many headaches!

First of you will need…

Use what you have to finish up your yarn

A ball of your chosen yarn (or string)

A pair of knitting needles – I use 8mm but play around to find what works best with your yarn.

A bar of soap – whatever you like best!

A pair of scissors and a cup of tea (all the best projects involve tea or wine and since I’m detoxing it’s tea for me!)

Start by casting on in your preferred style. I’ve always gone for the ‘Thumb‘ method myself! You’ll need to cast on enough stitches to cover 3 sides of your soap (2 short and one wide) – I have cast on 12 with this chunky string and 8mm needles. Just remember to cast on an even number of stitches.

Now this next stage could sound daunting if you’ve never tried double knitting but it’s unbelievably simple and so quick to do you will be a pro in no time.

Knit your first stitch. Then slip your next stitch as if to purl – this means put your needle as if you are going to purl the stitch and then just slip it over. Carry on with knit one, slip one  until you reach the end of the row. You will always finish on a slipped stitch.

Once you have worked a few rows like this you will be able to feel 2 sides to your knitting and actually be able to separate them a little!

There is a great video explaining the method:

 Turn your work around and repeat until your ‘sock’ is long enough to hold your bar of soap. Always start on a knit stitch and finish on a slip!

Once your sock is long enough you’ve reached the scary part! Leave a long tail – about 1.5 meters – and slip your work off your  needle. Yes, I said slip it right off without casting off.

Just be brave and pull the needle out!

Now gently prize your work open (like opening a bag of crisps!) and carefully thread your long tail through each of your stitches, starting with the last knitted stitch.

Gently prize work apart

Be careful not to drop any stitches as you thread your tail through them!

This is the hardest part!

Once you have caught every stitch on your tail you can turn it inside out, pop your bar of soap inside and pull the tail to tighten around the top of the bar.

Now the reason for the extra long tail…  We’re going to make a handle to hang your soap from so it can dry out and not go all squishy between uses!

Make a slip knot in the yarn, as close to the sock as you can get it. Form a loop and tuck it into the noose. Make another loop and tuck it into the previous loop. Keep repeating. When the chain is long enough, lock it by passing the end through the final loop. See here for animated instructions.

 Tie the loop to form a handle and you’re done!

Please let us know what you think, and feel free to ask questions or show us your finished soap socks!

Nikki x

Post Christmas Blues and How I Aim To Beat Them

2015 Bring it on

I’m one of the many, many people who hits a bit of a low after Christmas. I don’t know why, but I start to look back on my achievements and am always disappointed with the story so far! I’ve felt the start of it so far, my house isn’t how I want it, my business isn’t doing as good as it could, I don’t spend enough quality time with my kids and I don’t stay in touch with family anything like enough!

Instead of getting down in the dumps (what a cute way of saying depression and sticking a mental health sticker to my life) I have come up with a loose plan. It’s not a list of ‘new year resolutions for 2015’ but more of a system to make life easier and measurable. Every single day I am going to do…

One thing to improve my home – this could be clearing out a cupboard, making a new cushion or repainting a wall but it has to be one thing over and above the normal housework jobs that we all need to do.

One thing to improve my business – this could be anything at all from writing a blog post, researching new ideas, posting stuff of etsy or just telling someone in the street about my business.

One thing for my family – by this I don’t mean cook dinner and do washing, I mean play a board game, help with a hobby, go for a walk, make that phone call, send that email or make the trip to visit.

One thing for me – this is the one I will probably struggle to fit in! Things for me could be reading my book for half an hour, a long soak in the bath, a walk on my own in the woods or even a nice glass of wine with dinner.

2015 Bring it on

One thing a day, should be easy, right?

The Christmas Window. Or What happend to the rocking chair?

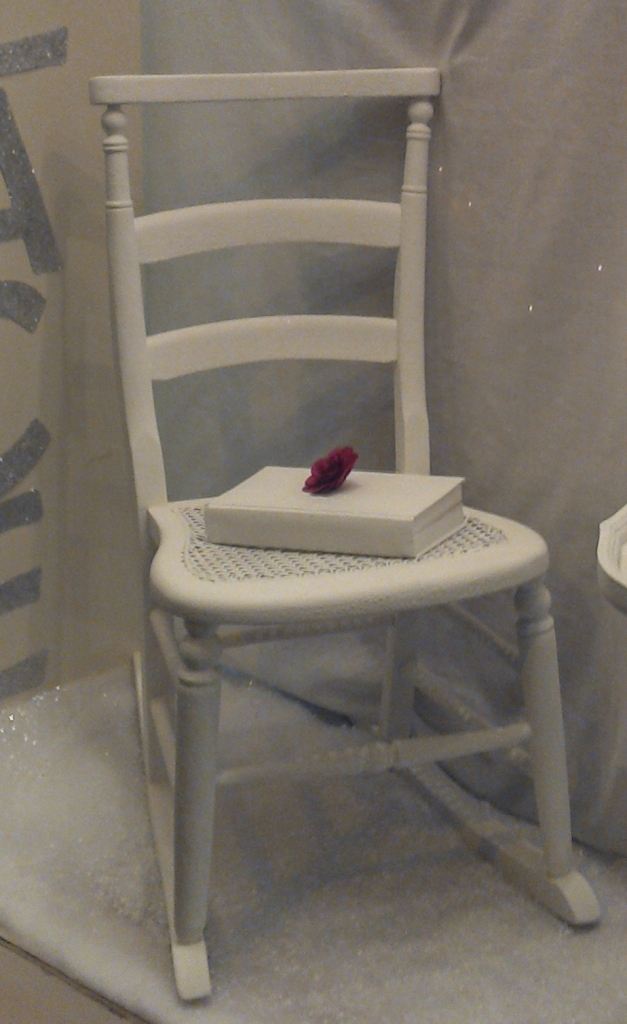
White rocking chair

Just last week I wrote a post about an adorable little black rocking chair that we were considering painting white to go into our shop. We actually debated to and fro for a couple of days – Mark even sent me a text message after I’d been in bed for 2 hours (and was fast asleep!) asking if he should just start painting!

In the end we bit the bullet and went for it! We used some paint that we have developed ourselves (very exciting post about this coming soon) and gave it just 2 coats of white. Amazingly it covered really easily, although the bumpiness is even more apparent now it’s a flat white colour.

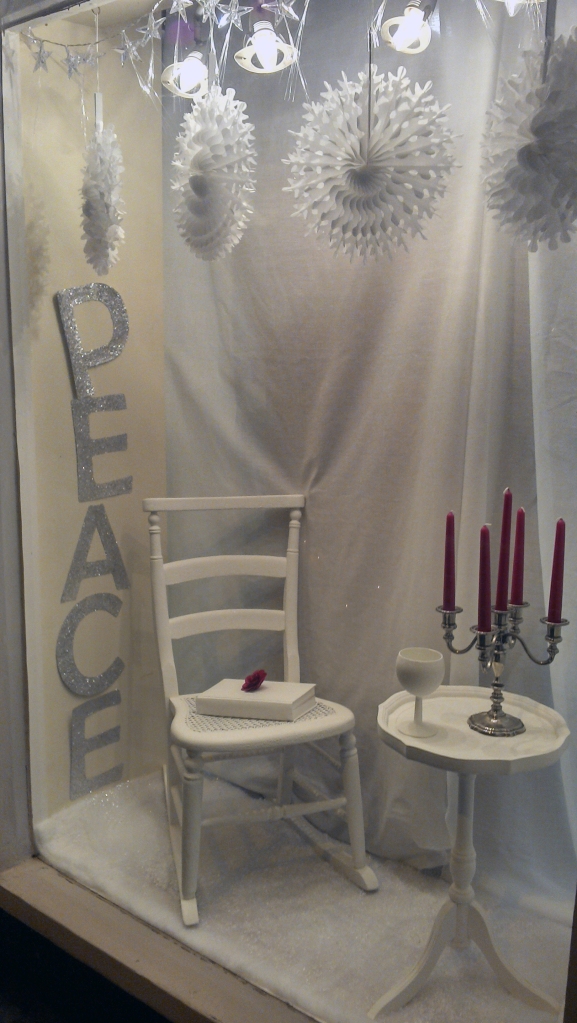
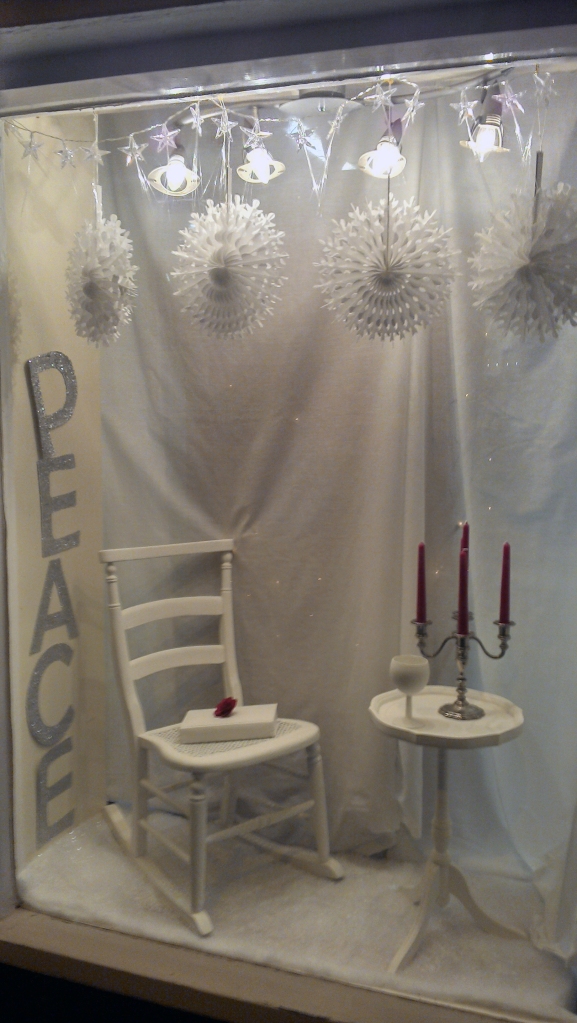
It will be P E R F E C T in the window of the shop, BUT my love for it has diminished just a little 😦 It’s no longer quirky or cute, it’s a little lacking in the character department to be honest.

White rocking chair
The chair!

What it is, is peaceful.  And if you read the original post you know that’s exactly what we were aiming for.

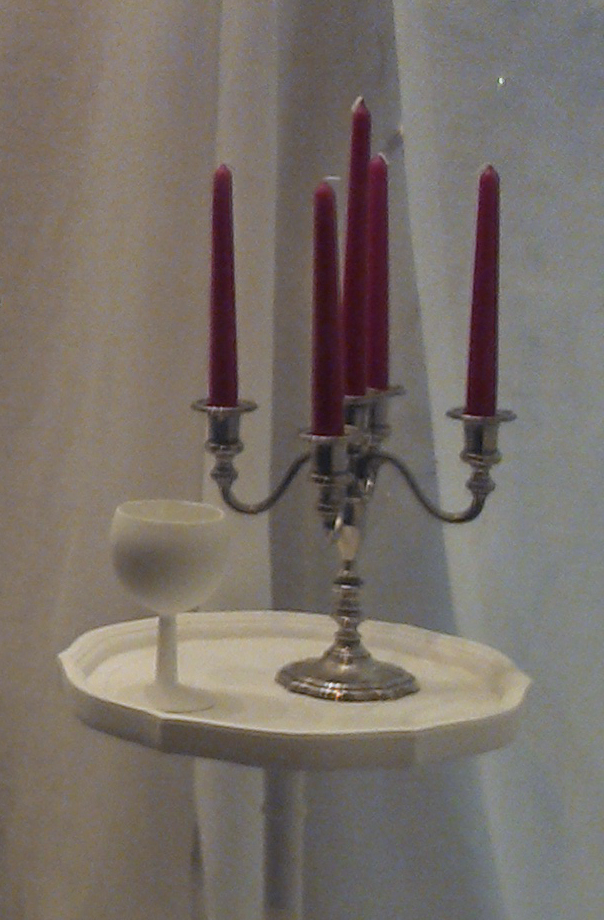
Candleabra

Sorry for the poor photos,  I was having difficulty getting the camera to focus through the window and I couldn’t use the flash!

White Window


What do you think?

Jpeg


Thank you – I really mean that!

Well, my little blog is a month old now and it’s been a bit of a steep learning curve! I hope I’m getting to grips with it, and will be upgrading a little in the New Year and redirecting my www’s to make us easier to find 🙂

I just wanted to post before things get crazy busy over Christmas to say ‘Thank You’ for reading. I can’t help but smile when I see that I’ve had visitors and it blows me away when someone follows our blog. I promise there’s lots of good stuff to come, more freebies, reviews, tutorials and things for sale so check in often and bring a friend!

I’ll be taking a short break over Christmas (though I will probably pop in to say hello) but will be back in the New Year to share some exciting news!

Merry Christmas

It took me a while to track down where the background image I used here was originally from but when I did I discovered the most beautiful photography blog (via tumblr and pinterest!) Go check out Georgianna Lane if you have a chance this holidays!

Oak Stool Makeover

As I’ve mentioned, I’m really snowed under right now so don’t have a huge amount of time to blog. I’m finding it very frustrating as I really want to share a lot with you but I guess I’m just going to have to wait until the new year!

This project was something I worked on a few weekends ago, a real simple piece but a lovely one!

In fact I was so excited to get started on the project that I almost forgot to take a ‘before’ shot, but this one will do as you can barely see where I’ve started to remove the paint . I found it at an auction covered in a sticky residue and about 20 layers of white gloss paint. It was in a sorry state but fundamentally still a sound piece of furniture.

After I had washed the worst of the dirt off I set about removing the paint from the seat using a heat gun and scraper. If you are restoring an older piece of furniture make sure that you do this, or any sanding, in a well ventilated area and wear a mask as it is likely that some of the old paint layers contain lead.

Once you have scraped off the majority of the paint it’s time to break out the sander. You’ve probably realised that my weapon of choice is usually the angle grinder with a sanding disc but please do practise this on scrap wood before you take on a lovely old piece like this stool.

It was only after some serious sanding that I realised that this stool was actually made from oak and not pine, as I’d first thought! I didn’t want it to look too new so I stopped sanding while there were still some marks and dents to show its age.

Scuff up the legs a little to break up that old gloss look. Then give the seat a few coats of a soft wax. I like Annie Sloan’s Soft Wax as it smells slightly nicer then Briwax but it is a bit more expensive. (I will be reviewing both in a future post so watch out for it)

I love the finished stool and think I might use it in my new ‘corner office’ when I eventually set it up.

We’d love to see your restoration projects and tutorials so why not drop us a line?

A Gift For You… Free Printable

If you are reading this, then you probably already  know that we specialise in re-finishing furniture, what you might not realise (because we haven’t told you yet!) is that we also make lots of nice little bits and bobs that everyone has space for and find vintage treasures to make your home unique! We will shortly be putting some of these items up on our ‘et cetera’ page.

Today we’d like to thank you for reading by giving you a free printable to use as you like.! It’s full A4 size, which makes it easy to find a frame – we find Ikea and Wilkinsons very reasonable.

So, without further ado, here you go! Just click on the photo to go to the full-sized image, right-click and save as.

Love Many, Trust Few

I would love to see how you use it so please do share your photo’s. If you want to use for commercial purposes then all I ask is that you leave our web site address in situ.

Nikki x


Before & After: Dark Wood Console Table

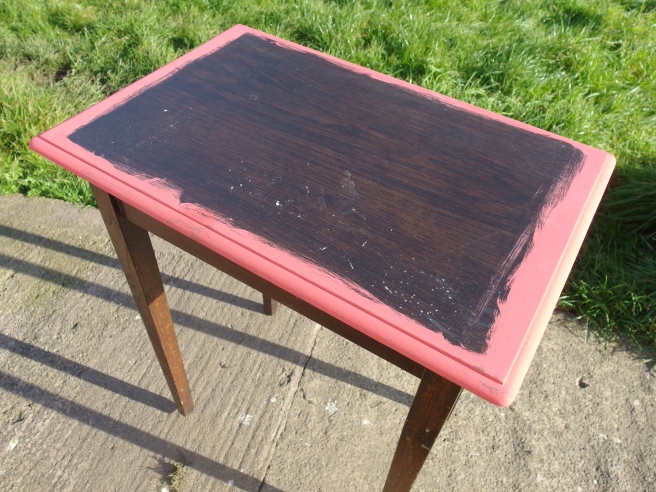
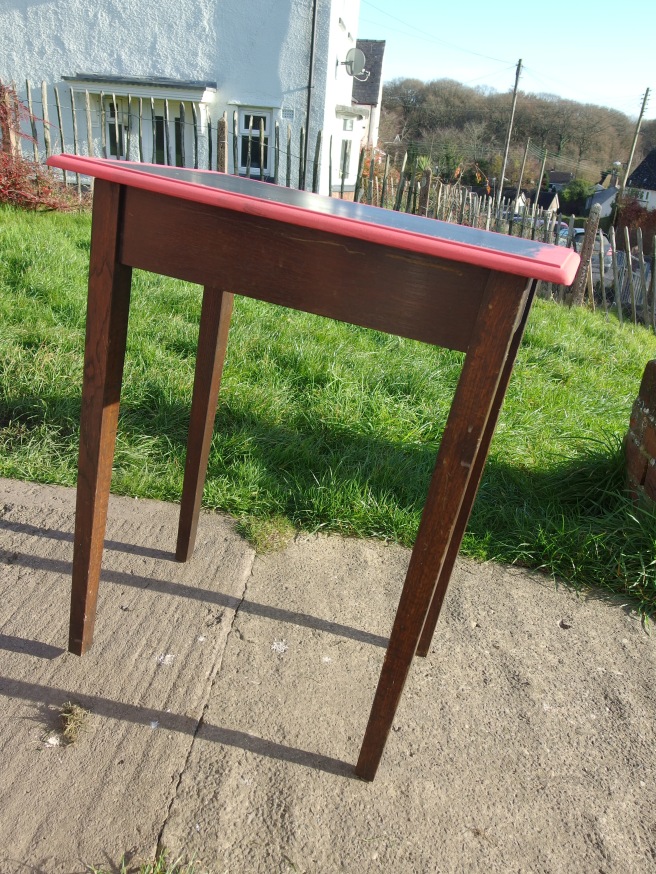
I thought I’d share a quick B & A with you this beautiful Sunday. I bought the original dark wood table from a friend who runs a house clearance and second hand store. It was a boring piece that had sat in her shop for a few months so she was pleased to see the back of it – and it fitted my shopping search for something I could complete in an afternoon and test my new paints out on.

Dark Wood Console Table
I got carried away and started painting before I remembered to take the ‘Before’ shots!

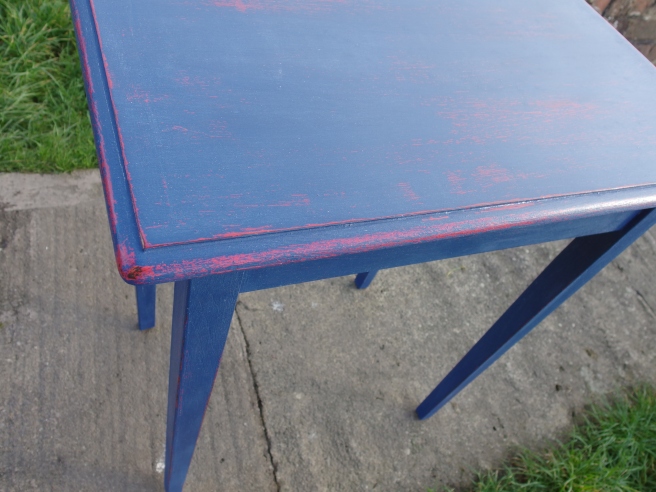
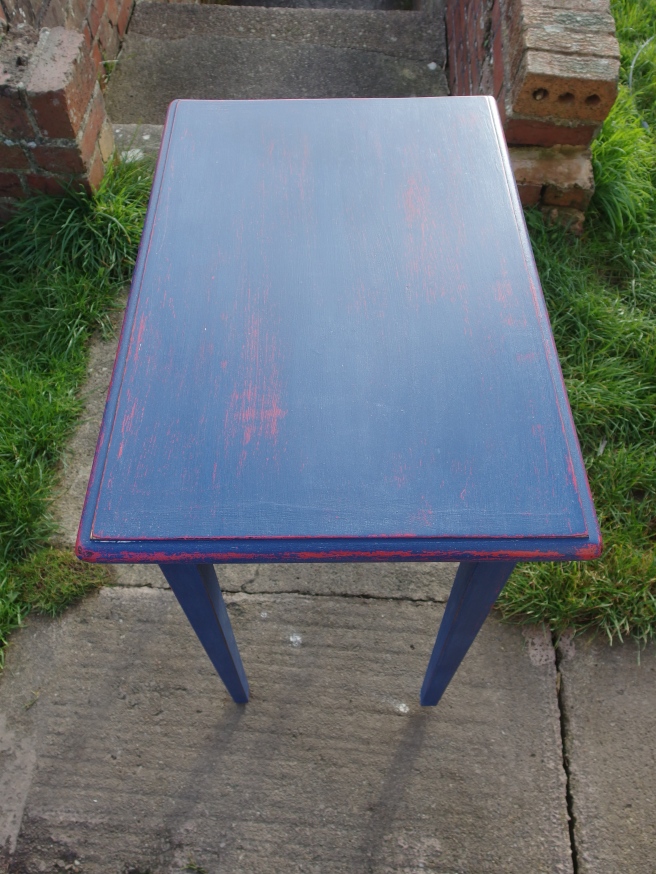
I didn’t sand or prime it at all as I wanted a true test of the paint I’d just made up. The first coat of red went on a dream. The paint was very thick so there were brush marks in the texture but it went on well so I decided that one coat would be enough. I gave it a rudimentary clear wax (Rust-oleum) and then painted directly over that with the blue I’d just mixed up.

The blue was a LOT runnier and I was worried that it would take a few coats to cover such a strong red. Boy, was I wrong! It went on an absolute dream!!! One coat and you had no idea of it’s secret red undercoat 🙂

I like its simple elegance
I like it’s simple elegance

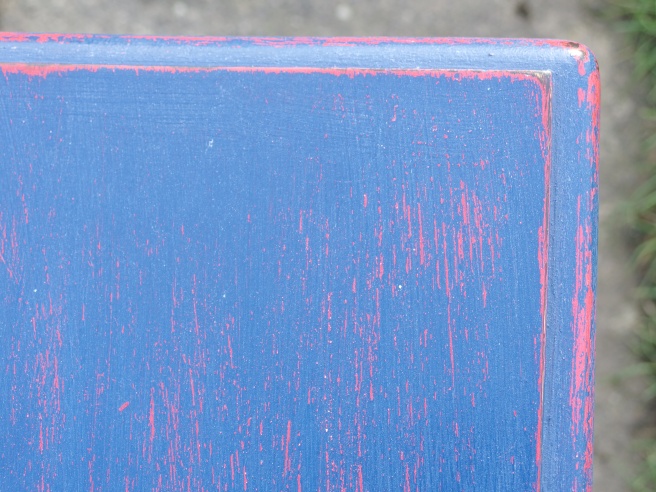
Once it had dried I rubbed it back a little on the legs and a bit heavier around the edges and top of the table, until I got the look I was after. Another 2 coats of wax and a good polish and I was done!

I’m really pleased with the results and the finished piece is available to buy on our Showroom pages or our Lydney shop. £45

Drumroll…

I wanted the red to show through, but not too much!

Table for sale

Distressed table top
I like the way the top turned out!

As always, I welcome your opinions!

Nikki x
Amazing Dresser Transformation.

Annie Sloan Dresser

It’s Saturday morning as I write this. Mark is enjoying a well deserved lie in, the kids are doing their own thing and I’m still in my pj’s with a nice cup of coffee and a plate of shortbread! I’ve just given a little table it’s first coat of red paint and, while I’m waiting for it to dry, I thought I’d share some photo’s of a dresser that Mark has been working on for a couple of weeks.

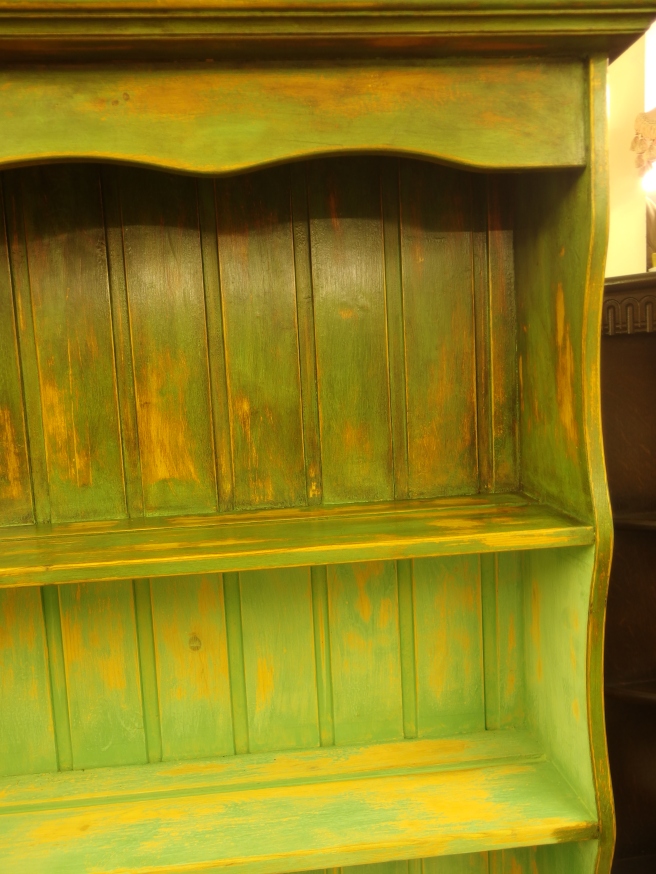
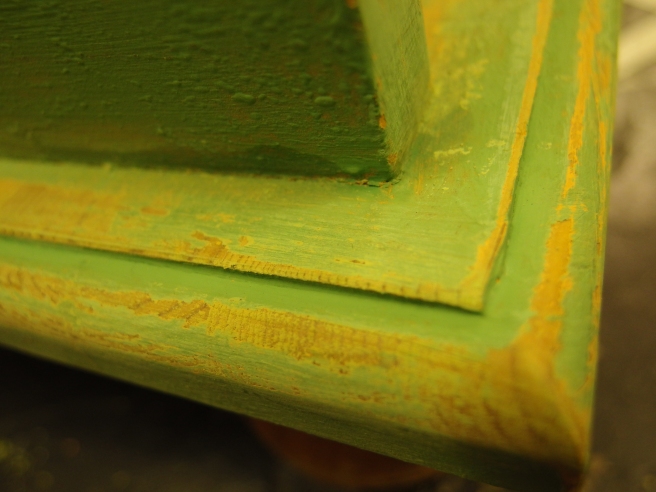
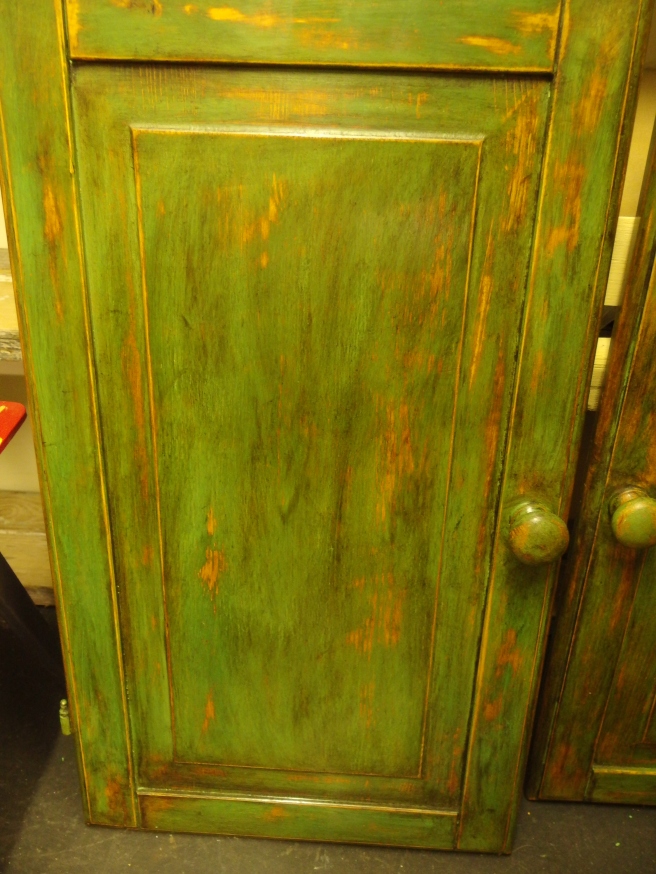
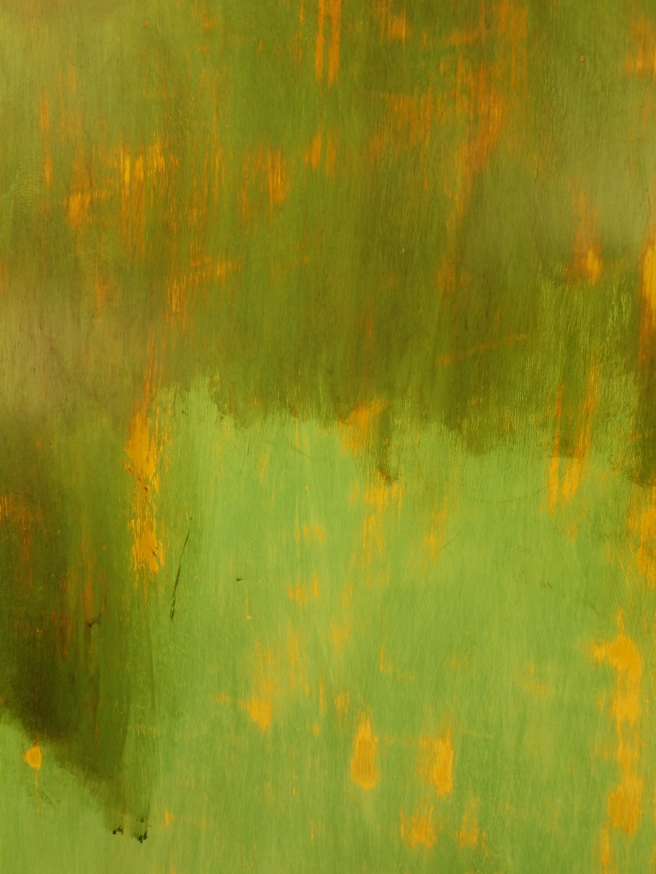
It was very ‘bog standard’ when he bought it at auction, but he had a vision of what he wanted and set about it fearlessly.  He started with Annie Sloan (TM) Barcelona Orange straight onto the varnished surface, force dried it with a hair drier (he’s not a patient man), then over the top with Antibes Green.

It was heavily sanded back to emphasize the distressed look and then given 2 coats of dark wax and polished within an inch of it’s life!  We used Briwax as we like the way it actually takes off a little of the chalk paint as you use it and takes out any sanding marks you might leave.

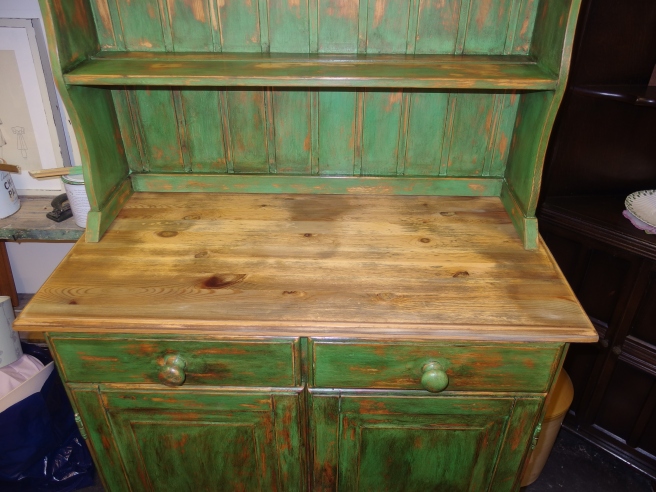
With the top, Mark sanded off most of the varnish before aging the wood to a beautiful silver. Unfortunately he hadn’t removed quite enough of the varnish (like I said, he’s not a patient man) and the effect was patchy, but he gave it the dark wax treatment and it actually turned out great!

I’d love to hear your comments on the finished piece – I think it might be our marmite dresser (love it or loath it!).

Now for some pics…

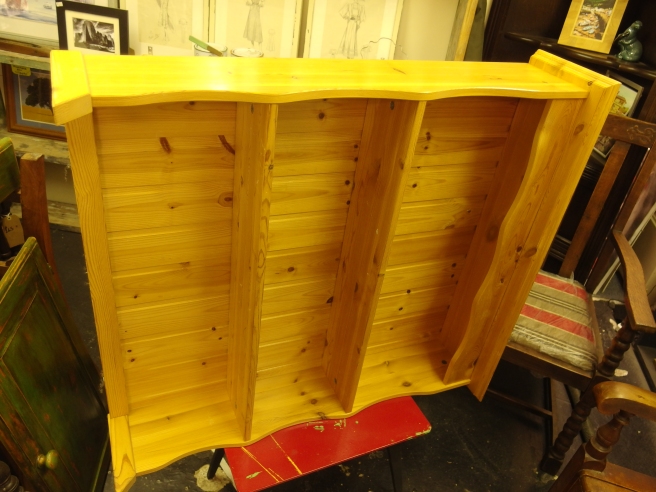
Bare pine dresser top
The whole thing started out as bog standard varnished pine.
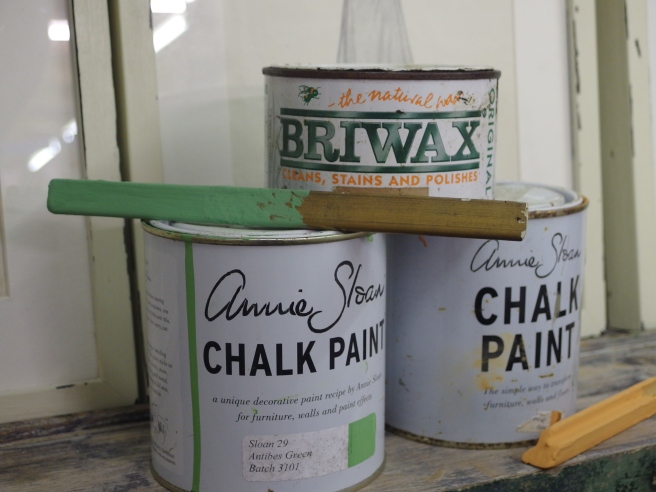
Annie Sloan Paint
Tools of the trade
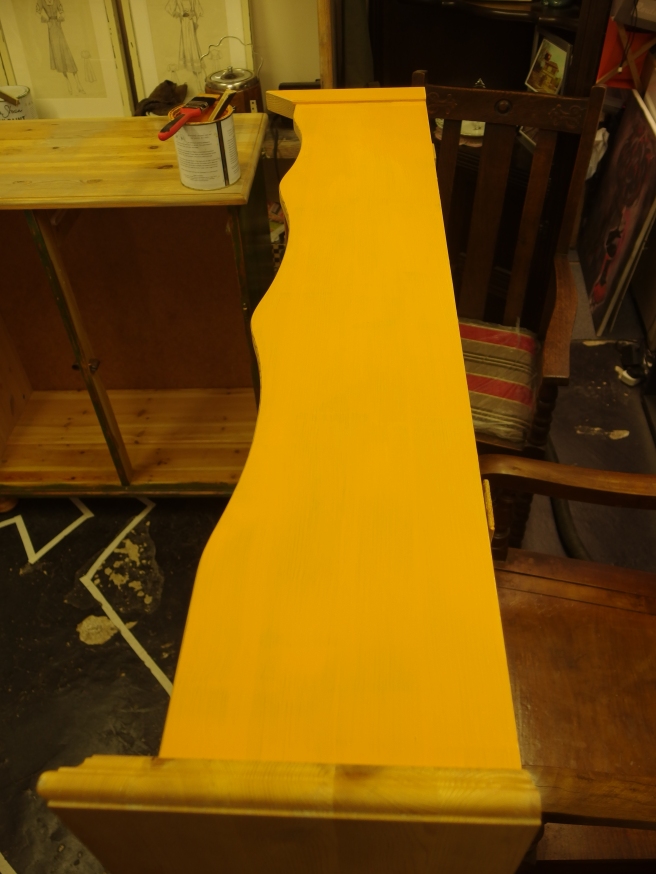
Barcelona Orange
Barcelona Orange
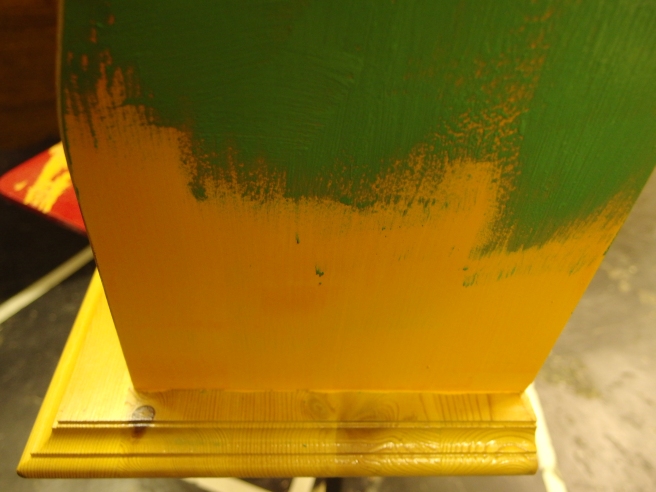
Green over orange
Green over orange
Sanded Back
Rubbed back
Dark wax
Dark Wax Going On
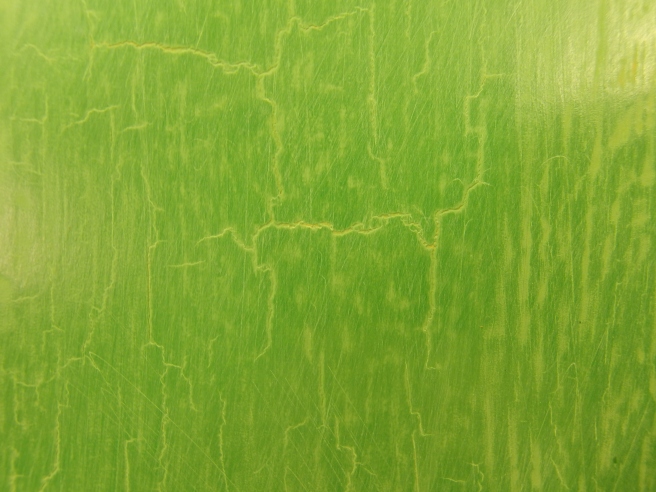
Crackle effect
Force drying can cause paint to crackle (Tut coming soon)
Repeat everywhere!
Repeat everywhere!
Patchy top
The top before dark wax


Finished Dresser
With a few props, in the window of the shop!